



There’s nothing quite like the aroma of freshly baked sourdough bread filling your kitchen. With its crispy golden crust, chewy interior, and signature tangy flavor, homemade sourdough is a rewarding baking project that delivers bakery-quality results at home.While sourdough takes more time than traditional bread, most of that time is hands-off fermentation. The slow rise develops incredible flavor and creates the beautiful open crumb that makes artisan sourdough so special. Whether you’re baking your first loaf or improving your technique, this guide walks you through every step.
Jump to Recipe Print Recipe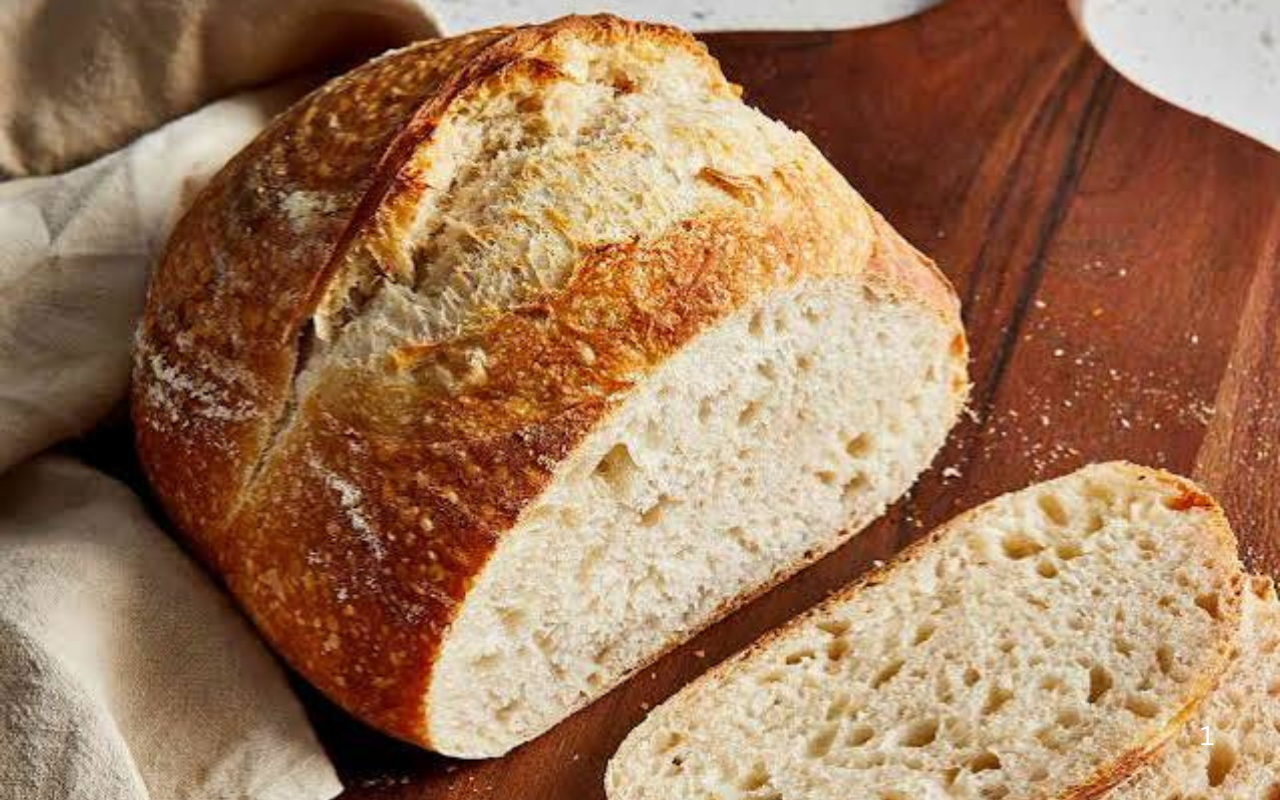
Easy Homemade Sourdough Bread Recipe | Crusty Artisan Loaf
Learn how to make homemade sourdough bread with a crisp crust, chewy crumb, and rich tangy flavor. Step-by-step instructions, tips, FAQs, and storage advice included.
Ingredients
Method
Step 1: Prepare the Starter
- Use an active, bubbly sourdough starter that has recently been fed. It should be lively and doubled in size before mixing the dough.
Step 2: Mix the Dough
- In a large mixing bowl:
- Combine the sourdough starter and warm filtered water.
- Stir until mostly dissolved.
- Add the bread flour.
- Mix in the sea salt.
- Stir until a shaggy dough forms.
- Do not overmix.
Step 3: Rest the Dough (Autolyse)
- Cover the bowl with a damp towel.
- Allow the dough to rest for 1 hour.
- This resting period hydrates the flour and helps develop better flavor and texture.
Step 4: Stretch and Fold
- Wet your hands lightly.
- Stretch one side of the dough upward and fold it over itself.
- Rotate the bowl and repeat until you’ve completed four folds.
- Cover and rest for 20 minutes.
- Repeat this process 2–4 times, resting 20 minutes between each set.
Step 5: Bulk Fermentation
- Shape the dough into a loose ball.
- Transfer it to a clean bowl.
- Cover and let rise until noticeably puffy.
- Depending on room temperature, this typically takes:
- 6–12 hours at room temperature
- The dough should spring back slowly when gently pressed.
Step 6: Shape the Dough
- Turn the dough onto a lightly floured surface.
- Fold the edges toward the center.
- Flip it over.
- Using your hands, gently pull the dough toward yourself several times to tighten the surface.
- This helps create a beautifully shaped loaf.
Step 7: Final Proof
- Line a bowl or proofing basket with a clean towel.
- Dust generously with flour.
- Place the dough smooth-side down into the prepared bowl.
- You can:
- Proof at room temperature for a shorter rise, or
- Refrigerate, covered, for 12–36 hours for deeper sourdough flavor.
Step 8: Preheat the Oven
- Place a cast iron Dutch oven with its lid inside the oven.
- Heat to 500°F (260°C) for about one hour.
- The hot pot helps create exceptional oven spring and a crisp crust.
Step 9: Score and Bake
- Turn the dough onto parchment paper.
- Score the top with a sharp blade.
- Carefully lower it into the hot Dutch oven.
- Bake:
- 20 minutes at 500°F with the lid on
- Reduce temperature to 450°F
- Remove the lid
- Bake another 20 minutes, or until deeply golden brown.
Step 10: Cool
- Transfer the bread to a wire rack.
- Allow it to cool completely before slicing.
- Cooling helps the crumb finish setting and improves texture.
Notes
Baking sourdough is as much about patience as technique. Every loaf is a little different, and each bake helps you better understand your starter and dough. Once you experience the crackling crust, airy crumb, and rich homemade flavor, you’ll see why sourdough has remained a favorite for generations.